Click on photos to enlarge.

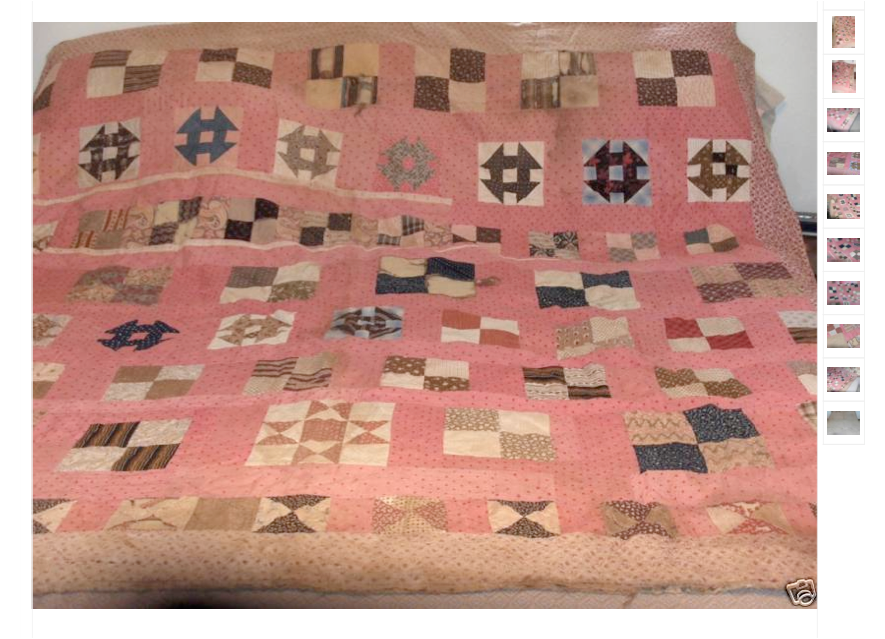
This latest acquisition happens to be signed and dated in ink (Mary 1909) on a back corner.

However, from the photographs on eBay I suspected some of the fabrics were much earlier than the 1909 date on the back corner of the quilt.
I was so excited when I spread it out that I could hardly contain myself. It makes me feel like a kid at Christmas time. Exploring any "new to me" so-called "cutter" quilt excites me in this way. You never know what you might discover. You cannot explore an "intact" quilt in quite the same way.
My excitement grew exponentially when I realized there was possibly another layer to this quilt, or at least parts of an older quilt inside the outer layer. One of the clues was the fact that I could tell there were two different types of quilting patterns showing up on the back of the quilt. One pattern matched the quilting I could see on the front of the quilt. The other quilting pattern on the back did not appear on the front at all. Hmmm, curiouser and curiouser.
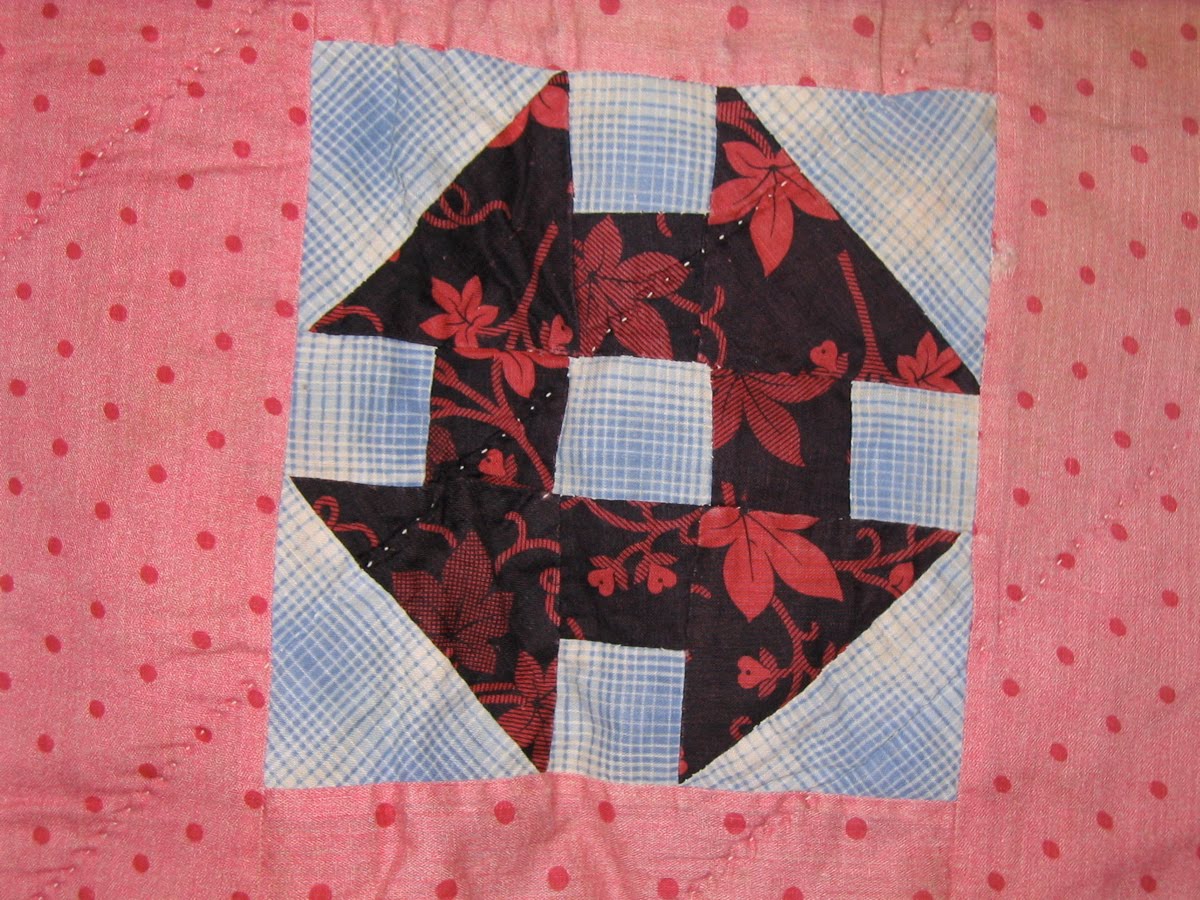
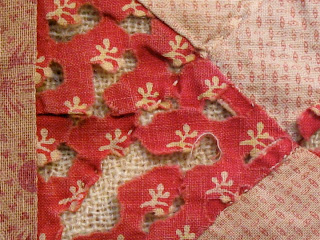
 Notice in this photo that there appears to be another layer of fabric "inside" some broken areas.

What I believe to be a light weight woven blanket was used as the batting and is a lovely piece of fabric in and of itself. Makes me wonder if it might have been a shawl? It is not as large as the quilt itself so it doesn't fill the whole quilt.

Another older binding is also showing underneath the outer binding in some areas.

If you go back and look at the first photo again, you will see two rather wide white lines beginning on the left side of the quilt runnning horizontal under the 2nd row of blocks. These are actually two different pieces of fabric. I am assuming these are print flaws.
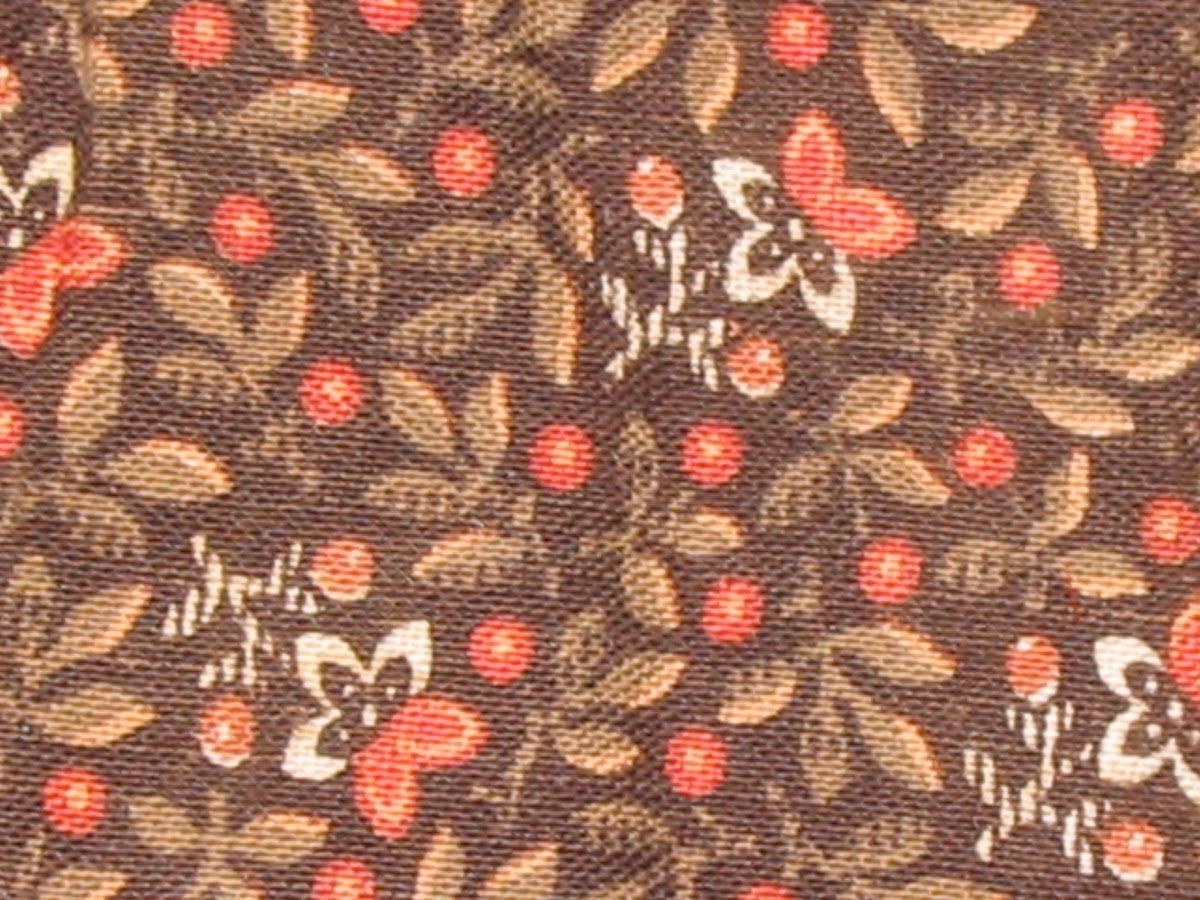
Below is a close-up of that flaw.

The photos also show the deteoriation of fabric and the light woven blanket (shawl? fabric?) that has been used as the batting.

 See close-ups of most of the other fabrics in this quilt here. Click on photos to enlarge.
Time out. I must tell you about my work table.
See close-ups of most of the other fabrics in this quilt here. Click on photos to enlarge.
Time out. I must tell you about my work table.
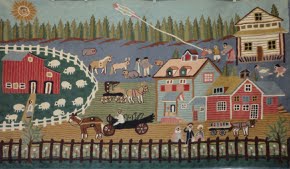
This table has so many practical uses, the cutting of fabric being one one of many. Below I use it to hang a quilt for close-up photographic documentation or simple examination.
I also use it to spread out my research binders when I want to pull some off the near-by bookshelf.

My father-in-law designed a quilt studio for my mother-in-law after they retired and moved to their dream spot on a quiet island in the Pacific Northwest. The room is approximately 14x16 feet. She requested a working table on which she could lay out a twin-size quilt! To do that he took a lovely 1960s vintage (modern clean lines) game table or maybe dining table that had extensions on either side. When open it measures 62" or approximately 5 feet. He then built a "rolling" frame with brakes to set this table onto. (see brake in last photo)
On top of this 5 ft. "rolling" table he added a huge piece of plywood 48 x 96. Set on rolling "feet" as it was, the table could be moved out of the way as needed. After we moved here I cut the table down to 78". It simply took up too much room for my needs.


Notice the labeled boxes on the far side of the table down on the floor? My mother-in-law cross-stitched labels for all her cardboard storage boxes and then glued them on the end of the box!
More to come!
UPDATES
Want to keep up with the ecavating? Read:
1850-1909 Quilt Excavation Part #2 by clicking
here;
1850-1909 Quilt Excavation Part #3 by
clicking here;
1850-1909 Quilt Excavation Part #4 by
clicking here.